How I Edit
This is a relic post. (Content pre-blog)
This is by no means the best solution for this problem. I’ve decided to repost it as a way of maintaining a record of my projects and for any users newer to photo manipulation programs. This method is quick and probably the easiest way for newbies.
Welcome to this tutorial where I welcome you to try what some might call unorthodox way of editing photos, but for the most part I find it relatively quick, easy, and most of all for free! Upon the requests I have received I invite you to come along and read through this tut. I have prepared for you.
If you haven’t already you will need a photo-editing software such as Photoshop or anything else along those lines.
You can get GIMP 2.0 for free if you need it.
(www.gimp.org)
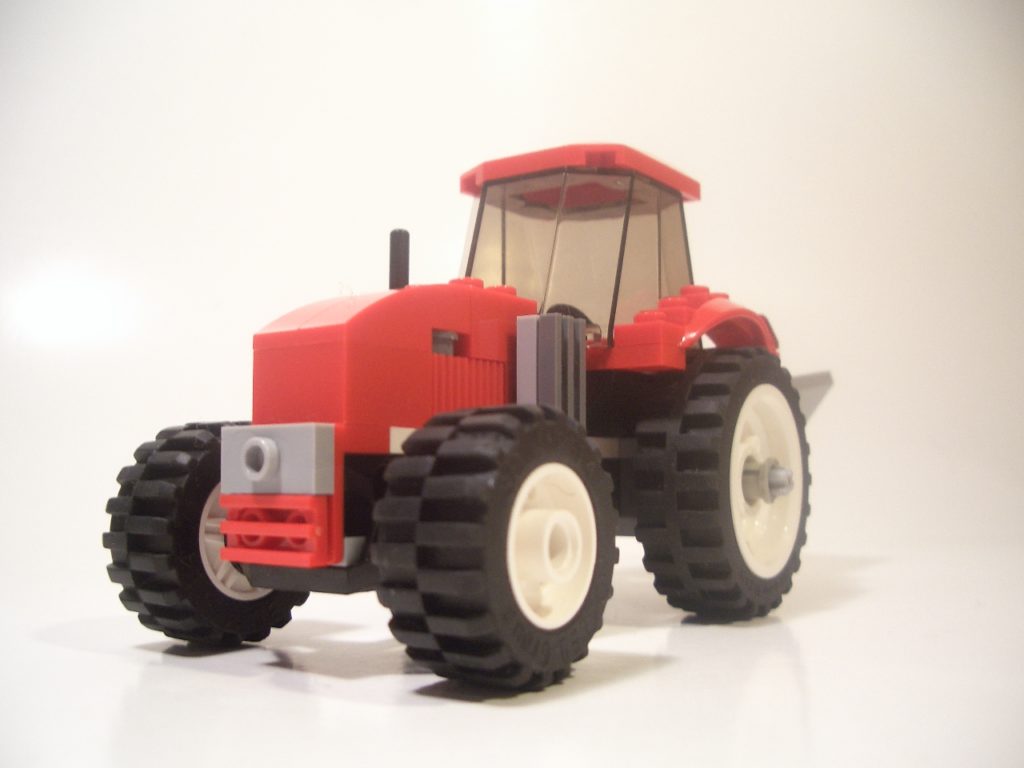
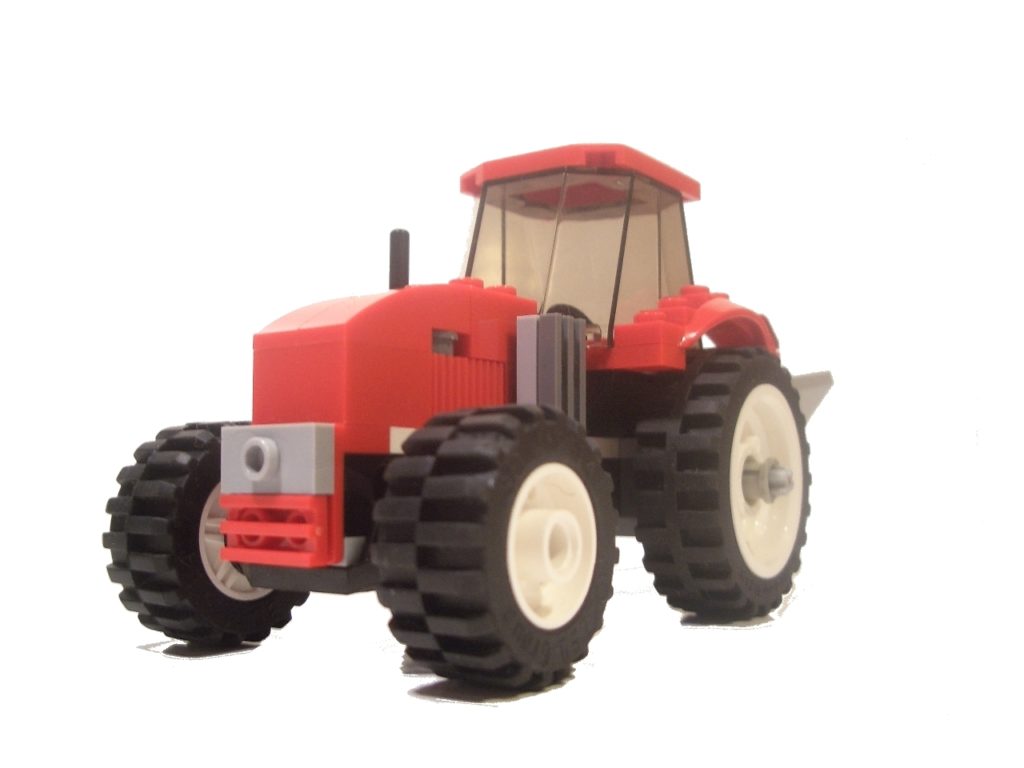
My photo set-up includes two lamps (IKEA Goose-necks work great, but any lamps angled towards the white ‘studio’ should do.) and a couple sheets of posterboard. You’re starting image will look hopefully similar to this. If not try changing the contrast/brightness to get something similar.
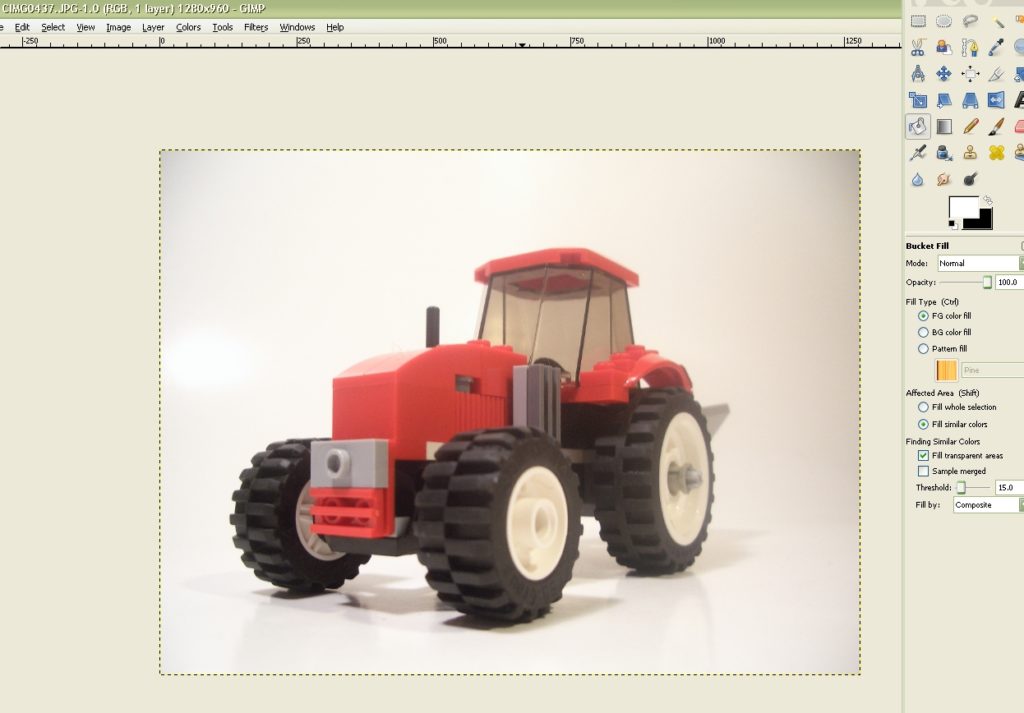
Once you have opened your image in GIMP or other photo editing software start by selecting the bucket-fill icon. (We start off in our somewhat unorthodox manor already) If you threshold is not default 15.0 change it to that or anything close should do.
Bucket fill in main areas of the photo.
Continue with smaller areas such as spokes of a wheel, leftover shadows, etc.
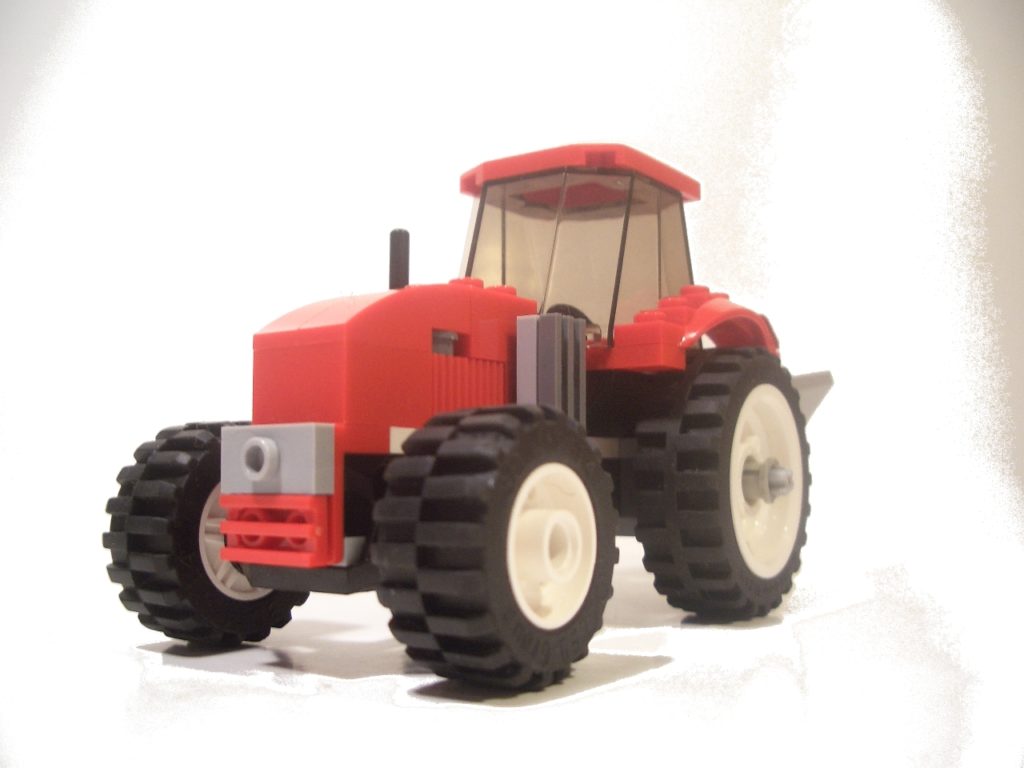
Once you’ve finished go around any left over area you can reach with a large paintbrush. (There will still be leftover ugly scraps, but we’ll take care of those next.
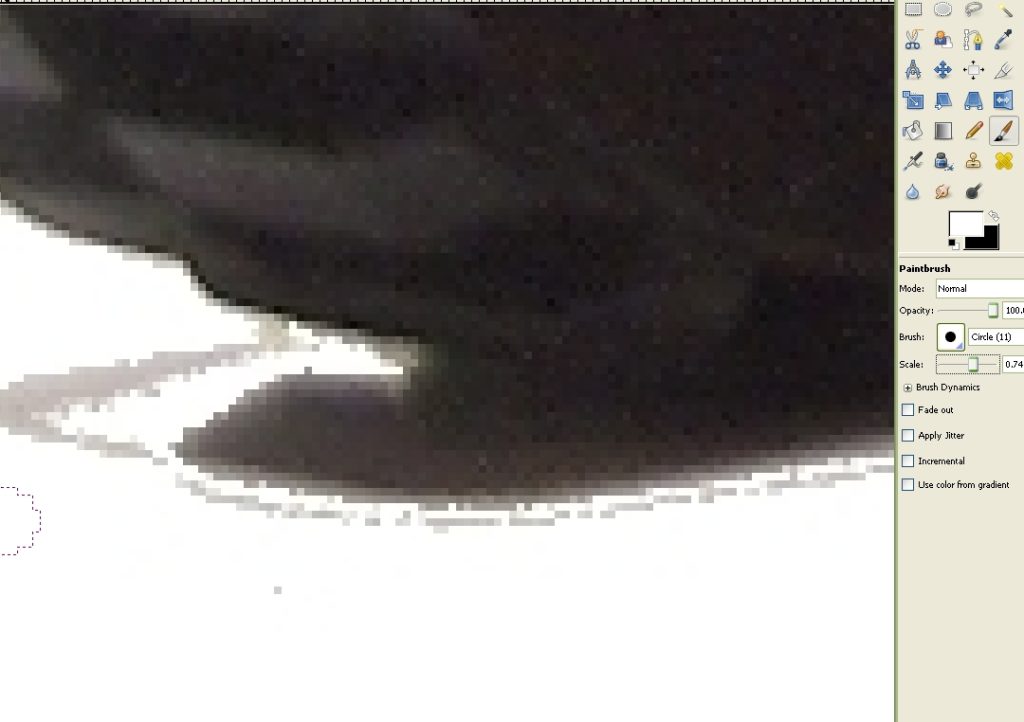
Zoom your image to 800% and find all parts of the photo that you missed prior to the bucket fills. You will need to shrink your brush to a very small size. This is were you have to use a careful hand and be prepared to undo any mistakes. A paint brush stroke where it doesn’t need to be looks ridiculous. After you have finished you can mess around with the Contrast/Brightness again to get the perfect effect. If you notice the background isn’t perfectly white you can simply use the bucket fill tool again and everything should be taken care of.

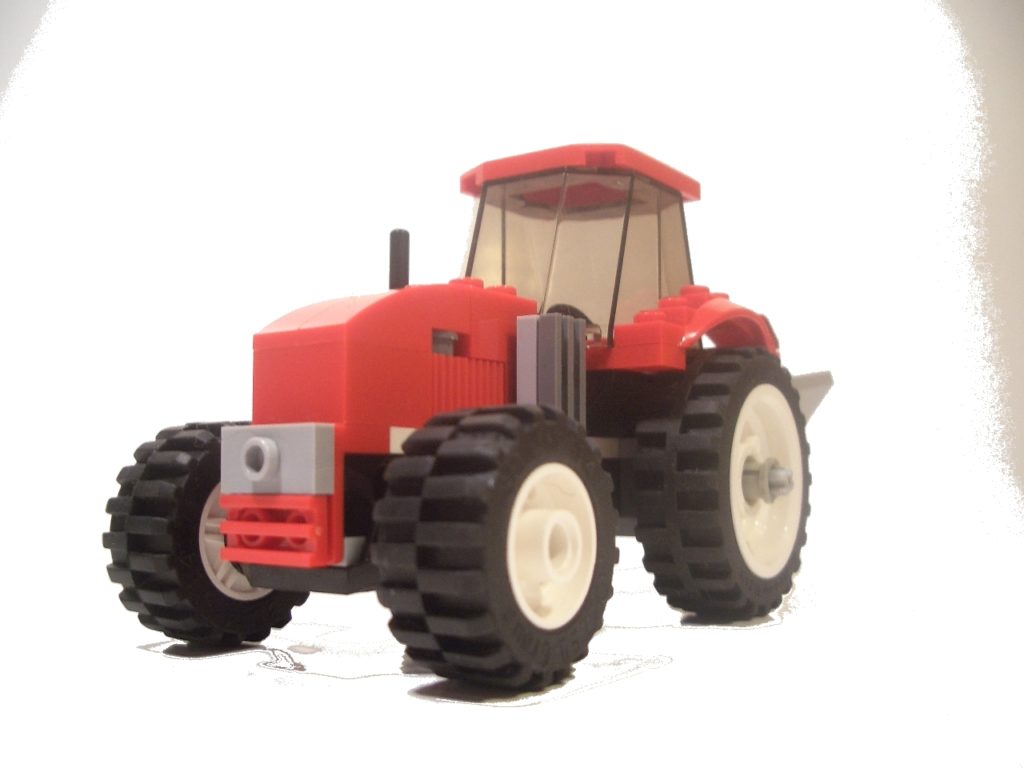
You’ve finished!
Congratulations and now you can give all your photos a nice clean white background.
Please keep in mind that practice makes perfect. My original photos that I took started out looking like this.. And later they go a little better. And now here I am.
Don’t expect to have your first photo being your best. Practice again and again and you will get the hang of it.
Thanks for reading along all of this and I hope you learned something.

For those interested in how its done with the two GIMP filters I’ve made a little visual. Pretty self explanatory, but here goes.
-Open your image in GIMP 2.0. (In this case we’re using the image from the last tutorial.)
-Go to Colors-Auto-White Balance and click. This will usually darken your image.
-Then go to Color-Auto-Color Enhance and click. This will give you photo more vibrancy.
-That’s it. You’re done and it is more than simple and best of all it can be done for free using GIMP! Also keep in mind this is just how I edit images and may not be the way others do it. This is for everyone that has ask me for my thoughts on the matter along with all other images in the tut.
For a better view of the visual go to all sizes and view in the original size.